Step by Step Glacier Tour Guide for Iceland
Step by Step Glacier Tour Guide for Iceland

TL;DR:
- Following a structured glacier tour guide ensures safety, proper gear use, and understanding hazards in Iceland. Proper clothing, certified guides, and real-time route adjustments are essential for a safe and rewarding glacier experience. Seasonal conditions influence safety preparations and opportunities like ice cave exploration, requiring adaptable planning.
A step-by-step glacier tour guide is a structured set of instructions covering gear, safety, navigation, and physical preparation for exploring glaciers with a certified guide. Follow this guide and you will walk Iceland’s ice with confidence, knowing exactly what to expect at each stage. Glaciers like Vatnajökull and Sólheimajökull attract thousands of adventurers every year, and the difference between a thrilling experience and a dangerous one comes down to preparation. This guide covers everything from choosing the right tour and packing crampons to reading hazards and adapting to Iceland’s unpredictable weather.
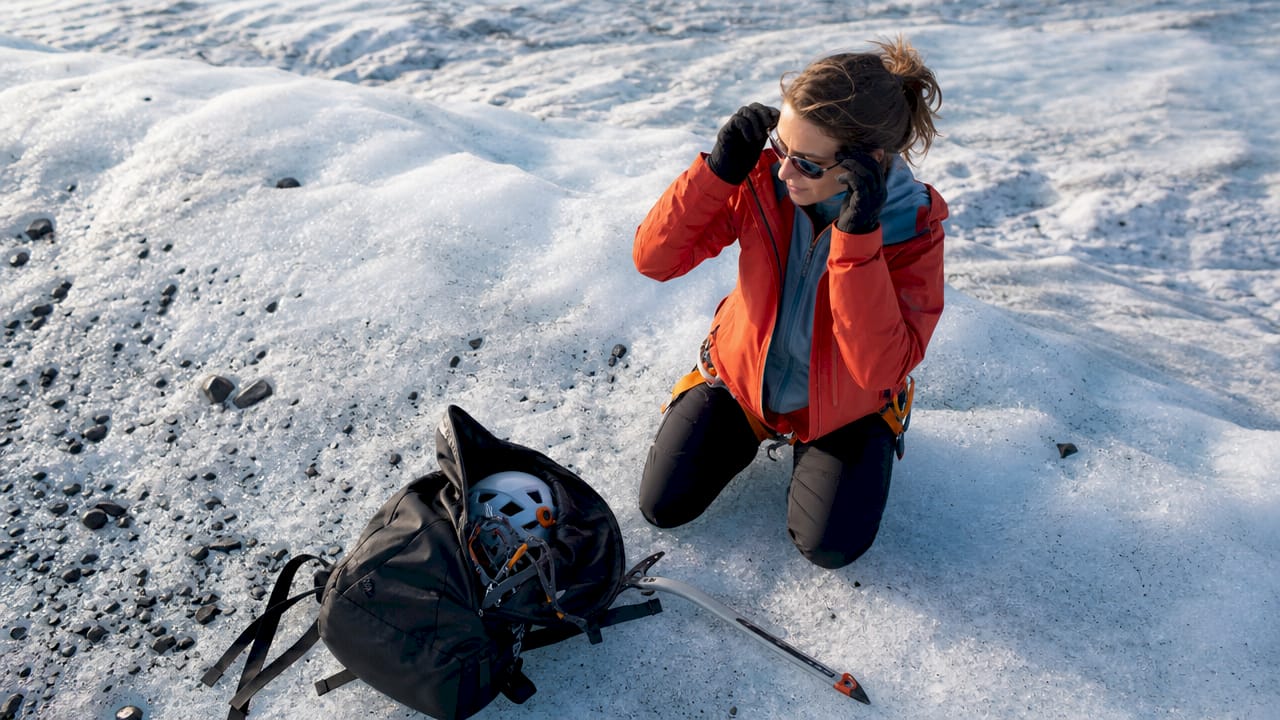
What essential gear and clothing do you need for a glacier tour?
Gear is the foundation of any glacier expedition guide, and getting it wrong puts you at serious risk. Professional operators supply crampons, ice axes, harnesses, and helmets. You bring or rent everything else.
Technical gear provided by your operator
- Crampons: Metal spikes that attach to your boot soles for grip on ice
- Ice axe: Used for balance and self-arrest on steep sections
- Harness: Required for roped glacier travel and crevasse rescue
- Helmet: Protects against falling ice and unexpected slips
Personal clothing and gear you must bring
- Sturdy, waterproof hiking boots with ankle support (non-negotiable)
- Moisture-wicking base layers in synthetic or merino wool fabric
- Waterproof trousers and a waterproof outer jacket
- Warm hat and insulated gloves
- UV-blocking sunglasses and high-SPF sunscreen
Glaciers reflect UV radiation intensely. Sunburn and snow blindness are real risks even on overcast days, so sunglasses and sunscreen are not optional extras.
Proper layering uses moisture-wicking base layers and waterproof outer shells to prevent hypothermia caused by sweat-soaked cotton clothes. Cotton holds moisture against your skin and drops your core temperature fast. Adjusting your mid-layers while active is the key to staying warm and dry throughout the hike.
Pro Tip: Pack your mid-layer in an easily accessible outer pocket. You will want to add or remove it quickly during the approach trek without stopping the group.
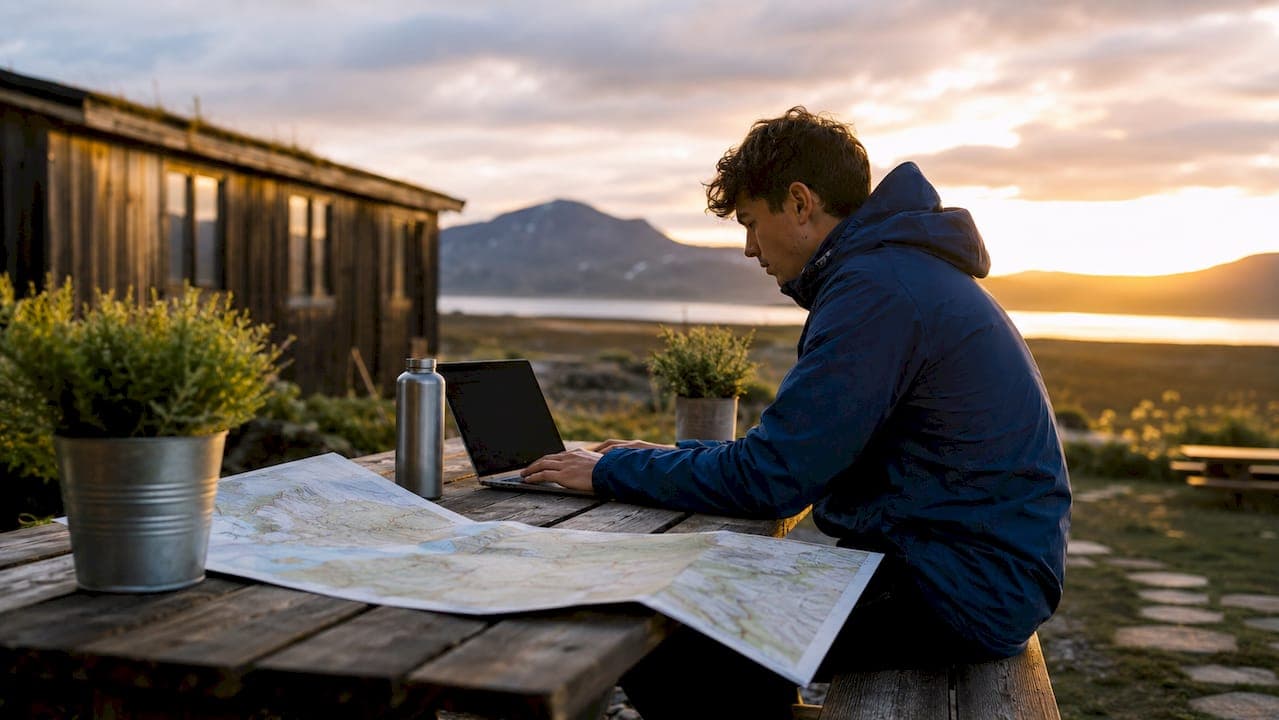
How do you choose the right glacier tour and prepare physically?
Choosing the right guided glacier tour before you book saves you from showing up underprepared or bored by a route that is too easy. Match the tour to your fitness level and goals.
Factors to evaluate before booking
- Tour length and elevation gain: Longer tours with more vertical gain demand better cardiovascular fitness
- Technicality: Some tours stay on flat ice; others involve steep ascents and rope work
- Group size: Smaller groups move faster and get more guide attention
- Minimum age: Most operators set the minimum age at 10 years, with moderate physical fitness required for all participants
- Current glacier conditions: Check operator websites and local forecasts before departure
Physical preparation matters more than most first-timers expect. You will be walking 3–4 km on uneven, slippery terrain while wearing crampons and carrying a daypack. Train with loaded hikes on uneven ground in the weeks before your trip.
Research your operator carefully. Look for certified glacier guides affiliated with recognized Icelandic guiding associations. Read recent reviews that mention safety briefings, group management, and guide responsiveness.
Pro Tip: If you are unsure of your fitness level, book a shorter introductory tour first. A 2-hour hike on Sólheimajökull is a better starting point than a full-day Vatnajökull traverse for most first-timers.
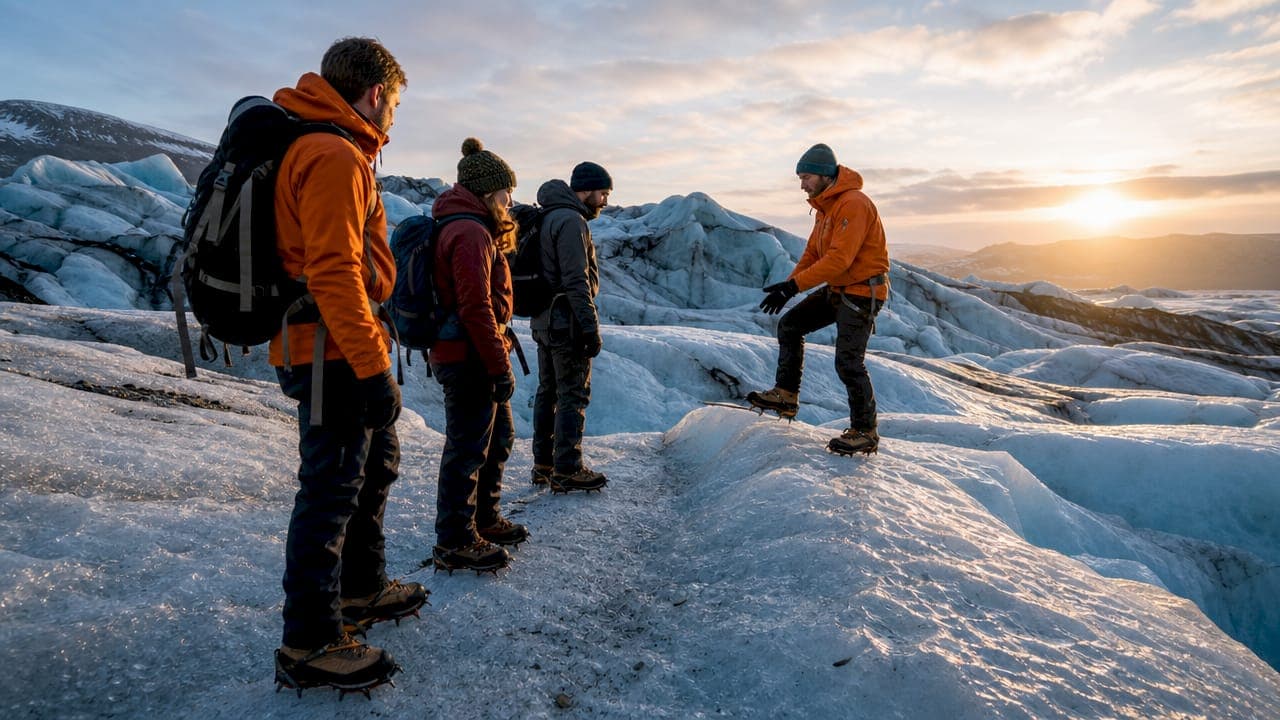
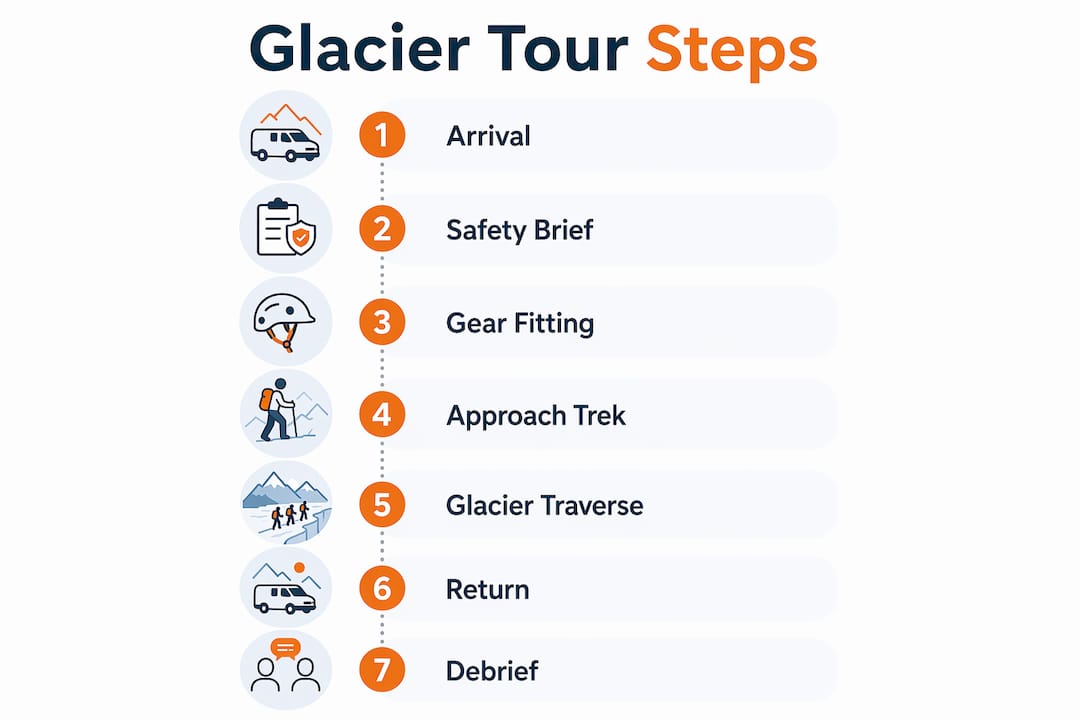
Step-by-step execution: from meeting your guide to returning safely
A typical guided glacier hike follows a structured process: safety briefing, gear fitting, approach trek, glacier traverse, and return hike. The overall trip, including transit, runs 3–5 hours. Knowing each stage removes anxiety and lets you focus on the experience.
1. Arrival and safety briefing
Arrive at the meeting point at least 15 minutes early. Your guide will cover crevasse awareness, crampon walking technique, group protocols, and emergency procedures. Pay full attention. This briefing is not a formality.
2. Gear fitting
Crampons attach to your boot soles with straps or bail systems. Your guide will fit them correctly and check every buckle. A loose crampon on ice is a fall waiting to happen. Harnesses go on before you reach the glacier edge.
3. Approach trek
The walk from the parking area to the glacier edge crosses rocky moraine, loose gravel, and sometimes muddy ground. This section takes 15–30 minutes depending on the glacier. Pace yourself here. Many adventurers burn energy on the approach and fatigue on the ice.
4. Main glacier traverse
Once on the ice, your guide leads and sets the pace. Walk with your feet slightly wider than normal to keep crampon points clear of your other leg. Keep your weight centered over your feet. Follow the guide’s exact footsteps, especially near crevasse zones.
“The team is your lifeline on the glacier. Guides adapt routes in real-time to changing ice conditions and hidden crevasses.”
Stay within arm’s reach of the person ahead of you on roped sections. Never wander off to take photos without telling your guide first.
5. Return and debrief
The return follows the same structured approach. Remove crampons at the glacier edge, not on the ice. Your guide will debrief the group, answer questions, and point out what you observed on the ice. This is the best time to ask about what you saw.
What are common hazards and how do professional guides manage risks on glaciers?
Glacier terrain is the most dynamic environment most adventurers will ever walk through. Glacier ice conceals hidden dangers like thin snow bridges that are invisible to untrained eyes. Understanding these hazards makes you a better, safer glacier traveler.
The main hazards on Iceland’s glaciers
- Hidden crevasses: Gaps in the ice covered by thin snow bridges that can collapse under body weight
- Seracs: Towers of ice that can topple without warning
- Meltwater channels: Fast-moving streams that cut through the ice surface
- Shifting ice: The glacier surface moves and changes shape daily
A safe route changes daily or even hourly. Following old tracks can lead directly into danger because ice conditions change constantly. This is the single most important reason to never attempt glacier travel without a certified guide.
Professional guides undergo rigorous training to identify invisible hazards that untrained hikers cannot detect. They read ice color, surface texture, and subtle depressions that signal crevasse locations. Route selection happens in real-time, not from a fixed map.
Crevasse rescue protocols require the whole group. Guides carry rescue equipment including pulleys, prussik cords, and anchoring gear. Every roped team member has a role in a rescue scenario, which is why staying connected to the group is non-negotiable.
“One of the most dangerous misconceptions is thinking you can interpret the ice safely on your own.”
Pro Tip: Never follow old boot prints or crampon tracks on the glacier. They were made under different ice conditions and may now lead over a compromised snow bridge.
How to prepare for varying seasonal conditions on Iceland’s glaciers
Seasonal planning enriches the experience significantly. Summer favors easier walking and long daylight hours. Winter provides better conditions for stable blue ice and ice cave exploration. Each season demands different preparation.
What to expect by season
- Summer (june–august): Milder temperatures, up to 20 hours of daylight, softer ice surface, and easier physical conditions. Bring sun protection and lighter mid-layers.
- Winter (november–march): Colder temperatures, shorter days, and firmer ice that supports ice cave access. Add insulated underlayers and hand warmers.
- Shoulder seasons (april–may and september–october): Fewer crowds, variable weather, and good ice conditions. Often the best balance of experience and comfort.
Iceland’s weather changes fast. Rain, wind, and fog can arrive within minutes regardless of the season. Tours usually continue in rain unless conditions are genuinely unsafe. Quality waterproof layers matter far more than waiting for a sunny forecast.
Hydration is easy to overlook in cold conditions. You sweat heavily during glacier hiking even when temperatures are low. Carry at least one liter of water and drink before you feel thirsty. Staying connected while out in remote terrain is also worth planning for. An Iceland eSIM keeps you reachable and lets you access real-time weather updates without relying on local SIM availability.
Pro Tip: Overcast and drizzly conditions often produce the most dramatic glacier photography. The diffused light eliminates harsh shadows and makes the blue ice colors pop.
Key takeaways
A successful glacier tour depends on certified guide leadership, correct layering, and real-time hazard awareness at every stage of the hike.
| Point | Details |
|---|---|
| Gear is provided, clothing is not | Operators supply crampons, axes, and helmets; you must bring waterproof boots and layered clothing. |
| Tours run 3–5 hours total | Expect 2–4 hours on ice covering 3–4 km, with moderate fitness required for all participants. |
| Safe routes change hourly | Never follow old tracks; trust your guide’s real-time route decisions on shifting ice. |
| Season shapes your experience | Summer offers daylight and easy walking; winter unlocks ice caves and stable blue ice. |
| Tours continue in rain | Waterproof layers are more important than a sunny forecast when planning glacier travel. |
What I have learned from years on Iceland’s glaciers
The most common mistake I see adventurers make is treating the safety briefing as background noise. They are scanning the glacier, adjusting their camera, or chatting with the group while the guide explains crevasse protocols. Then, 40 minutes into the hike, they do not know what to do when the guide calls a stop and changes the route.
The second mistake is underestimating how physically demanding glacier hiking actually is. Walking in crampons on uneven ice engages muscles you do not use on trail hikes. Your ankles, hips, and core work constantly to stabilize each step. Adventurers who show up without any preparation often struggle in the final third of the hike when the terrain gets more technical.
What I find genuinely surprising is how different the same glacier looks from one visit to the next. Sólheimajökull changes visibly between seasons and even between weeks. Crevasse fields shift, meltwater channels appear, and entire sections of ice that were passable in spring become impassable by summer. That constant change is what makes glacier guiding a real skill, not just trail leadership.
My honest advice: choose an operator who spends time on the safety briefing rather than rushing to get on the ice. The best operators treat education as part of the experience. You will learn more, stay safer, and leave with a much deeper appreciation for what you just walked across. Check out the Icelandic glacier overview from Foxhostel if you want to understand the geology before you book.
— Trygve
Foxhostel: your base camp for South Iceland glacier adventures
Planning a glacier tour from the right base makes the whole trip easier. Foxhostel sits in Hrífunes Nature Park, 35 minutes east of Vík, and puts you within striking distance of Sólheimajökull, Vatnajökull National Park, and Jökulsárlón Glacier Lagoon.
Solo adventurers can book a single bed in a dorm. Groups and couples can buy out an entire room for full privacy. The on-site pizzeria, communal kitchen, and dark skies for Northern Lights viewing make it a natural gathering point for glacier-bound travelers. Check South Iceland accommodation at Foxhostel and lock in your base before the best dates fill up. For a broader look at what the South Coast offers beyond glaciers, the adventure activities near Vík guide is worth reading before you finalize your itinerary.
FAQ
How long does a guided glacier hike in Iceland take?
A typical glacier hike lasts 2–4 hours on the ice, with a total trip time of 3–5 hours including transit and gear fitting. Most tours cover 3–4 km on the glacier surface.
Do I need prior hiking experience for a glacier tour?
No prior glacier experience is required for introductory tours. Moderate physical fitness and sturdy waterproof boots are the main requirements, with most operators setting a minimum age of 10 years.
What happens if it rains on my glacier tour day?
Tours continue in rain unless conditions become genuinely unsafe. Quality waterproof layers are the key preparation, and overcast conditions often produce better photography than bright sunshine.
Can I walk on a glacier without a guide?
Walking on a glacier without a certified guide is dangerous and strongly discouraged. Hidden crevasses and snow bridges are invisible to untrained eyes, and safe routes change hourly as ice conditions shift.
What is the best season for glacier tours in Iceland?
Summer offers the easiest conditions and maximum daylight. Winter is best for ice cave access and stable blue ice. Shoulder seasons in april–may and september–october offer fewer crowds and solid conditions for most skill levels.
Recommended
- What Are Icelandic Glaciers? Facts, Types, and Features | Fox Hostel – South Iceland
- Your Workflow for Iceland Adventure Planning | Fox Hostel – South Iceland
- Comment organiser excursion Vatnajökull : guide pratique | Fox Hostel – South Iceland
- How to Visit South Coast Waterfalls in Iceland | Fox Hostel – South Iceland