Northern Lights Camera Settings to Use Tonight
Northern Lights Camera Settings to Use Tonight
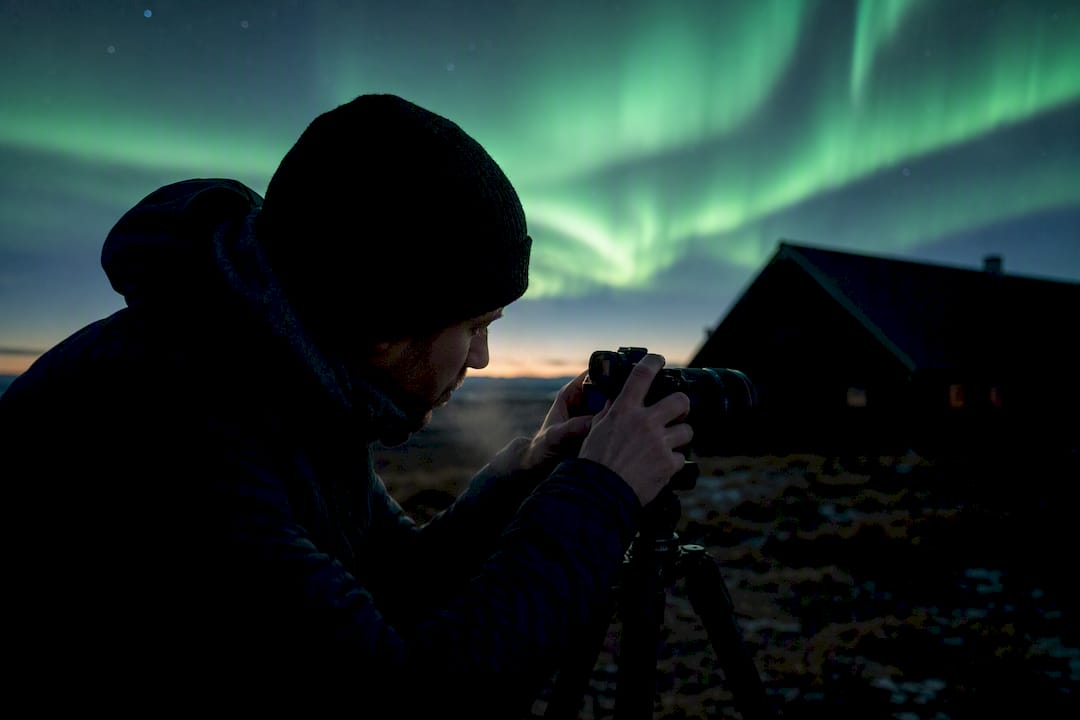
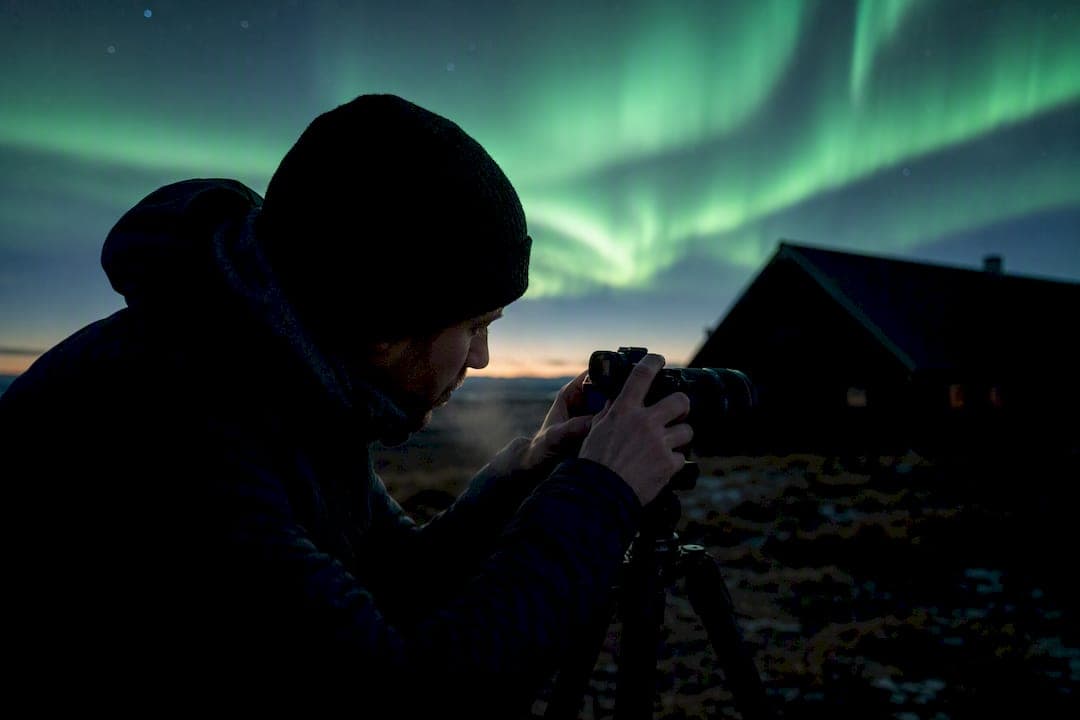
Start here: Manual mode, RAW, an aperture of f/2.8 or wider, ISO 1600, and a shutter speed of 10 to 15 seconds. That combination captures a moderate aurora with enough light and enough shape. If the lights start dancing fast, cut your shutter to 1 to 5 seconds and push ISO higher to compensate. If the display is faint and barely moving, stretch the shutter to 20 to 25 seconds instead.
After your first frame, check these adjustments:
- Image too dark? Raise ISO first, then lengthen shutter speed.
- Aurora looks like a green smear instead of ribbons? Shorten shutter speed immediately.
- Foreground invisible? Shoot a second, longer exposure of just the landscape to blend later.
Pro Tip: Take one deliberately overexposed test shot before you start dialing in exposure. It’s too bright to use, but it lights up the terrain enough for you to check composition and framing in what otherwise looks like a black screen.
Key Takeaways
Successful aurora photography depends on a test shot and histogram check after every settings change, not on memorizing a single fixed formula.
| Point | Details |
|---|---|
| Start with a baseline | Use Manual mode, RAW, f/2.8, ISO 1600, and a 10 to 15 second shutter as your first test shot. |
| Match shutter to motion | Shorten to very short shutter speeds for fast curtains, extend to 20–25s for faint, still glows. |
| Trust the histogram | Judge exposure by the histogram, since the LCD preview misleads in the dark. |
| Focus manually every time | Use Live View on a bright star, then tape the focus ring against temperature drift. |
| Phones need support too | Mount on a tripod, use Night Mode or Pro/RAW, and start near ISO 1600–3200 with a 10–15s shutter. |
Table of Contents
- Essential Gear for Aurora Photography
- Camera Settings for Aurora Borealis by Brightness and Motion
- How Do You Focus a Camera in the Dark?
- Freeze the Aurora or Let It Blur?
- Can You Shoot the Northern Lights on a Phone?
- A Step-by-Step Field Workflow for Shooting the Aurora
- Editing Aurora Photos: Where to Start
- Fixing Common Aurora Photography Mistakes on the Spot
- Plan Your Aurora Shoot from South Iceland
- Why Field Testing Beats Memorized Settings
- Sources
Essential Gear for Aurora Photography
The lens matters more than the camera body. A fast wide-angle lens shooting at f/1.8 to f/2.8 pulls in far more light per second than a slower kit lens ever will, and that difference lets you use a shorter shutter speed and freeze more of the aurora’s structure. A 14mm to 24mm focal length (full-frame equivalent) is the sweet spot: wide enough to catch the sky and a foreground anchor in one frame. Camera bodies matter too, but mostly for how clean their files look at high ISO. Something like the Canon EOS R5 or the newer Canon EOS R8 handles ISO 3200 and above with far less noise than older sensors, giving you more flexibility to shorten shutter speed without losing the image to grain. Neither is required. Any modern mirrorless or DSLR with manual controls can produce strong aurora shots.
Must-have kit:
- Sturdy tripod (wind resistance matters more than weight class)
- Remote release or intervalometer to avoid touching the camera during exposure
- Two or more spare batteries, kept warm in an inner jacket pocket
- Headlamp with a red-light mode to protect night vision
- Fast memory cards with enough capacity for a long night of RAW files
Worth packing if you have room:
- A lens heater or hand warmers taped to the barrel to fight condensation
- A fast prime lens (f/1.4 or f/1.8) for extra low-light reach
- A compact travel tripod as backup or for hikes to remote viewing spots
- A smartphone tripod clamp if you’re shooting dual setups
Camera Settings for Aurora Borealis by Brightness and Motion
Your baseline for a moderate, moving aurora is Manual mode, RAW, f/2.8, ISO 1600, and a shutter speed between 10 and 15 seconds. That’s the setup most experienced night photographers reach for first, and it’s a fair starting point regardless of what your display ends up doing once you’re out there.
Aurora intensity swings fast, though, so the smart move is treating that baseline as a starting point, not a fixed answer. Here’s how the settings shift as conditions change:
| Aurora condition | ISO | Shutter speed | Aperture |
|---|---|---|---|
| Faint, slow-moving | 3200 | 15–25s | Widest available |
| Moderate, some movement | 1600–3200 | 8–15s | f/2.8 or wider |
| Bright, fast curtains | 800–1600 | very short shutter speeds | f/2.8 or wider |
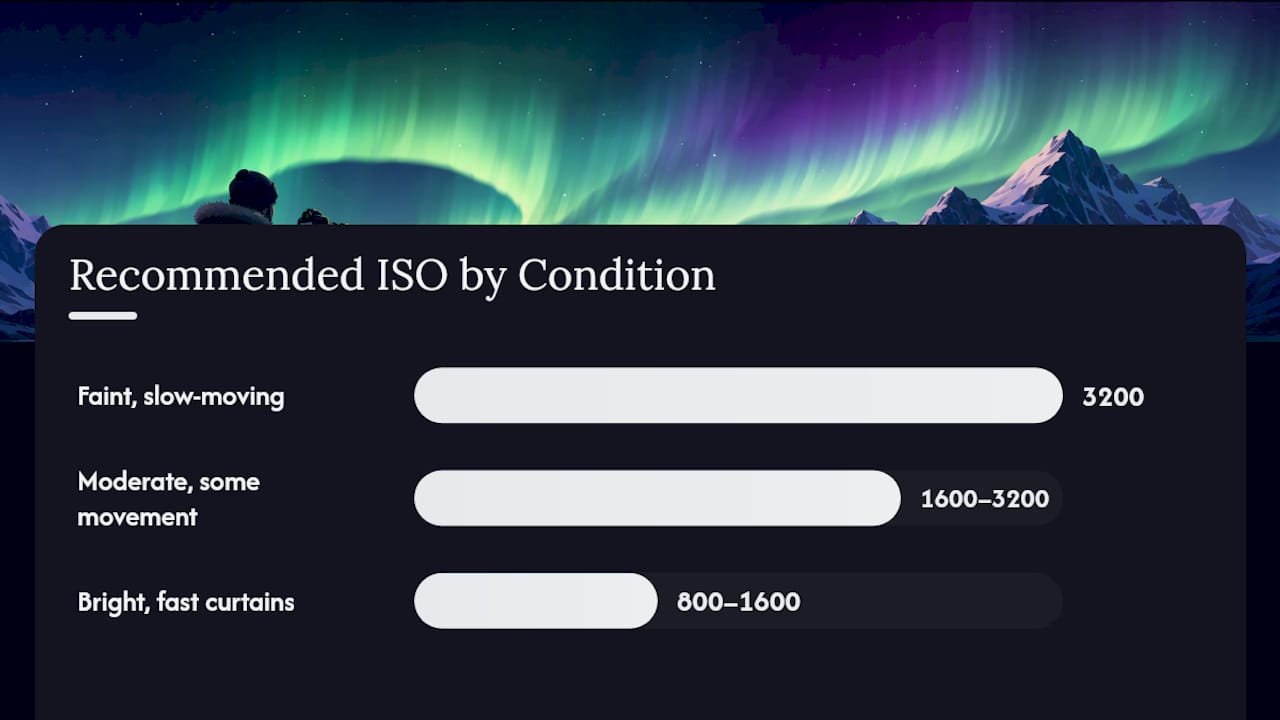
This range comes from field-tested guidance that pairs specific ISO and shutter combinations to aurora activity level, and it holds up whether you’re shooting from a car park or a mountainside.
The 500 Rule gives you a ceiling for how long you can expose before stars start trailing: divide 500 by your lens’s focal length in full-frame terms. A 14mm lens gives you a long maximum exposure before star trailing becomes visible. But that rule exists for stars, not aurora, and fast-moving curtains blur into a formless glow long before your stars ever trail. When the aurora is active, ignore the 500 Rule and shorten your shutter to freeze the structure instead.
Two decision rules cover almost every situation you’ll run into:
- Aurora looks smeared or shapeless: shorten the shutter speed and raise ISO to compensate for the reduced light.
- Image reads dark or underexposed: lengthen the shutter speed, raise ISO, or both, depending on how much motion is present.
Pro Tip: Never judge exposure from the LCD preview alone. It lies in the dark, making underexposed shots look bright. Pull up the histogram instead. If the peak is jammed against the left edge, you’re underexposed no matter how the screen looks.
How Do You Focus a Camera in the Dark?
Autofocus almost always fails once the sky goes fully dark. There isn’t enough contrast for the sensor to lock onto, so you’ll hear the lens hunt back and forth and never settle. The fix is manual focus: switch to Live View, zoom in digitally on a bright star or a distant light on the horizon, and turn the focus ring slowly until that point resolves into a tight dot instead of a fuzzy blob. Once it’s sharp, tape the focus ring in place so it can’t drift as the barrel contracts in falling temperatures.
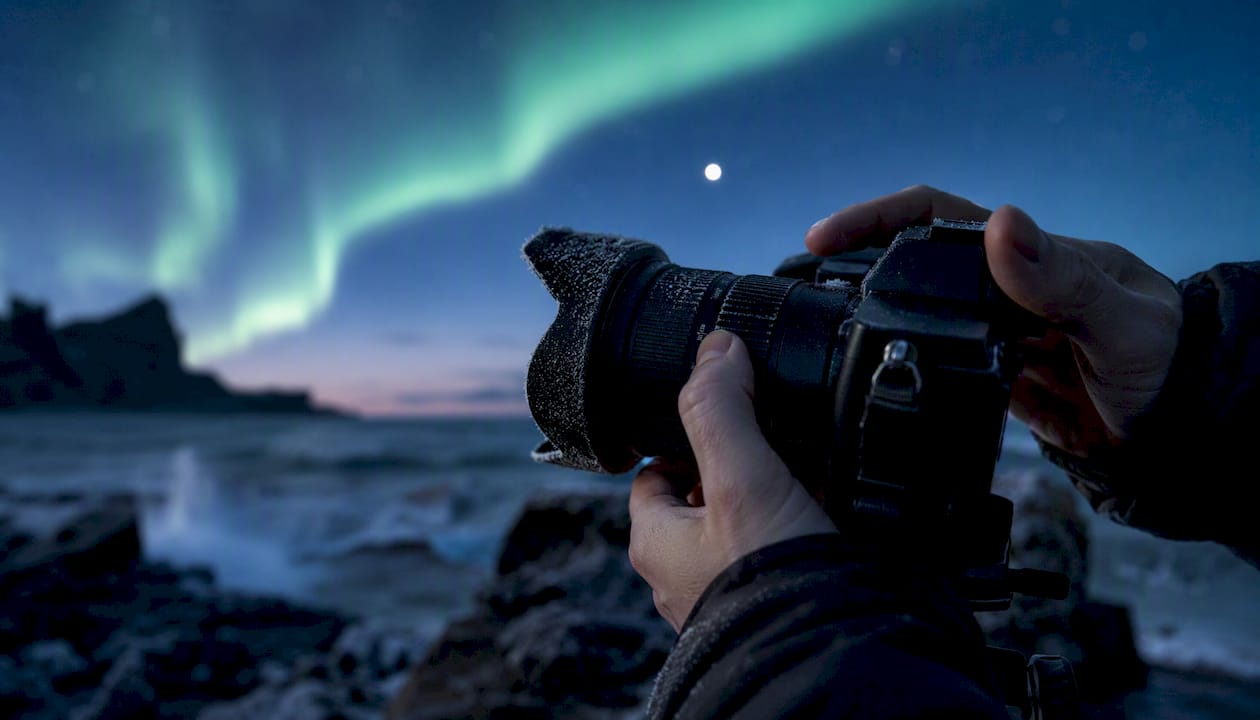
Composition deserves the same attention as exposure. A bare sky full of green light gets old fast in a photo feed. Give the frame a foreground anchor, a rock formation, a tent, a person standing at the edge of the light, and place your horizon along the lower or upper third rather than dead center.
Before the aurora ramps up, run through this quick check:
- Confirm focus on a star, not just “near infinity” by eye
- Zoom into your test shot on the camera’s screen to verify sharpness
- Recheck focus after 20 to 30 minutes in dropping temperatures
Pro Tip: Fire one heavily overexposed test frame purely to see your foreground shapes. You can’t compose what you can’t see, and a three-second glance at a blown-out preview tells you more than five minutes squinting at black.
Freeze the Aurora or Let It Blur?
Shutter speed is the one setting that decides whether your aurora looks like sharp ribbons or a soft green haze, and the right answer depends entirely on how fast the display is moving. Curtains rippling or pulsing quickly need a shutter under 5 seconds to hold their shape. A slow, static glow can afford 15 to 25 seconds without losing definition, since there’s little movement to blur in the first place.
That tradeoff pushes ISO higher than photographers used to feel comfortable with. It’s a fair trade now: modern sensors and denoising tools like Topaz DeNoise AI recover far more detail from high-ISO files than older software ever could, so a noisier but sharper frame usually processes better than a clean but mushy one.
- When the sky is bright and moving fast, accept a darker foreground, or shoot a second, longer exposure of the landscape alone to blend in post.
- Turn off in-camera long-exposure noise reduction during active displays. It doubles your processing time between shots, and doubled processing time means missed peaks in a fast-changing aurora.
- In wind, hang a weight from the tripod’s center column and stand upwind of the camera to block gusts from hitting the lens barrel.
Pro Tip: If your tripod legs are shaking in wind, shorten your shutter speed rather than fighting the vibration. A slightly underexposed sharp frame recovers better in editing than a blurry one ever will.
Can You Shoot the Northern Lights on a Phone?
Modern phones handle aurora photography better than most people expect, provided you set them up right. On iPhone, Night Mode does most of the work automatically, but locking it to its maximum duration gives noticeably better results than letting the phone guess. On Android, switch to Pro or Expert RAW mode if your phone has one, since it hands you direct control over ISO and shutter speed instead of an algorithm’s best guess.
- Mount the phone on a tripod, since even Night Mode can’t fix camera shake.
- In Pro mode, start around ISO 1600 to 3200 with a 10 to 15 second shutter, then adjust from there.
- On Google Pixel devices, Astrophotography mode can stack multiple frames into a much cleaner result, but only if the phone stays perfectly still.
- Shoot RAW where the option exists. It’s the same logic as a dedicated camera: more data to recover in editing.
Expect solid, shareable images from a phone. Expect a mirrorless or DSLR to still pull ahead on detail, dynamic range, and how far you can push an edit before things fall apart.
A Step-by-Step Field Workflow for Shooting the Aurora
Run through this sequence every time you set up, even if you’ve done it fifty times before:
- Mount the camera on the tripod and secure it against wind.
- Frame your composition, including a foreground anchor.
- Focus manually on a bright star or distant light using Live View.
- Fire a test shot at your baseline settings (f/2.8, ISO 1600, 10 seconds).
- Check the histogram, not the screen preview, to judge exposure.
- Adjust ISO or shutter speed based on what the histogram shows.
- Confirm white balance is set manually, not on auto.
- Verify long-exposure noise reduction is off if the aurora is active.
When the display picks up speed, prioritize shorter exposures and check your last frame more often. A slow, deliberate review pace works fine for a faint, static glow, but active aurora can peak and fade in under a minute.
Pro Tip: Glance at your last frame for two seconds, then look back up at the sky. Photographers who bury their face in the LCD for thirty seconds straight miss the best curtain of the night, every time.
Editing Aurora Photos: Where to Start
Everything starts from the RAW file. Work in this order: exposure and curves first, then white balance, then noise reduction, then any localized adjustments like dodging a bright patch of aurora or darkening a light-polluted horizon.
- Lightroom or Camera Raw handles the first pass: exposure, white balance correction if your in-camera setting was off, and basic curve work.
- Topaz DeNoise AI or DxO PureRAW cleans up shadow noise from high-ISO files far more effectively than Lightroom’s built-in tool alone.
- A green or magenta color cast usually means your white balance needs a manual nudge back toward that 3500K to 4500K range rather than trusting Auto White Balance.
- Blown highlights in bright aurora patches often recover surprisingly well from RAW, more than you’d expect from a JPEG.
- If you shot a separate foreground exposure, blend it in with a simple luminosity mask rather than a hard-edged selection, which tends to leave a visible seam along the horizon.
Fixing Common Aurora Photography Mistakes on the Spot
- Blurry stars, sharp aurora: your shutter speed exceeded the 500 Rule ceiling for your lens. Shorten it.
- Washed-out, featureless aurora: shutter speed is too long for how fast the display is moving. Cut it and raise ISO.
- Grainy, noisy files: ISO is pushed higher than the light actually required. Check the histogram before assuming you need more sensitivity.
- Soft or out-of-focus foreground: refocus using Live View on a bright point, and retape the focus ring if temperatures have dropped since your last check.
- Foggy lens or condensation: wrap a hand warmer around the barrel, or bring a lens heater if you’re shooting for several hours.
- Dead battery mid-shoot: cold drains batteries fast. Keep spares warm in an inner pocket and rotate them proactively, not after the first one dies.
Check your histogram after every settings change. It’s the fastest way to catch an overexposed aurora core before you’ve wasted ten minutes shooting a blown-out sky.
Plan Your Aurora Shoot from South Iceland
South Iceland offers some of the darkest, least light-polluted skies on the island, and that’s exactly the kind of setting these settings were built for. Fox Hostel sits in Hrífunes Nature Park, roughly 35 minutes east of Vík, far enough from town lights to matter but close enough to reach Reynisfjara Black Sand Beach and Dyrhólaey the same day. Guests get a proper night’s sleep in a converted barn, then step outside to genuinely dark skies without driving an hour to find them.
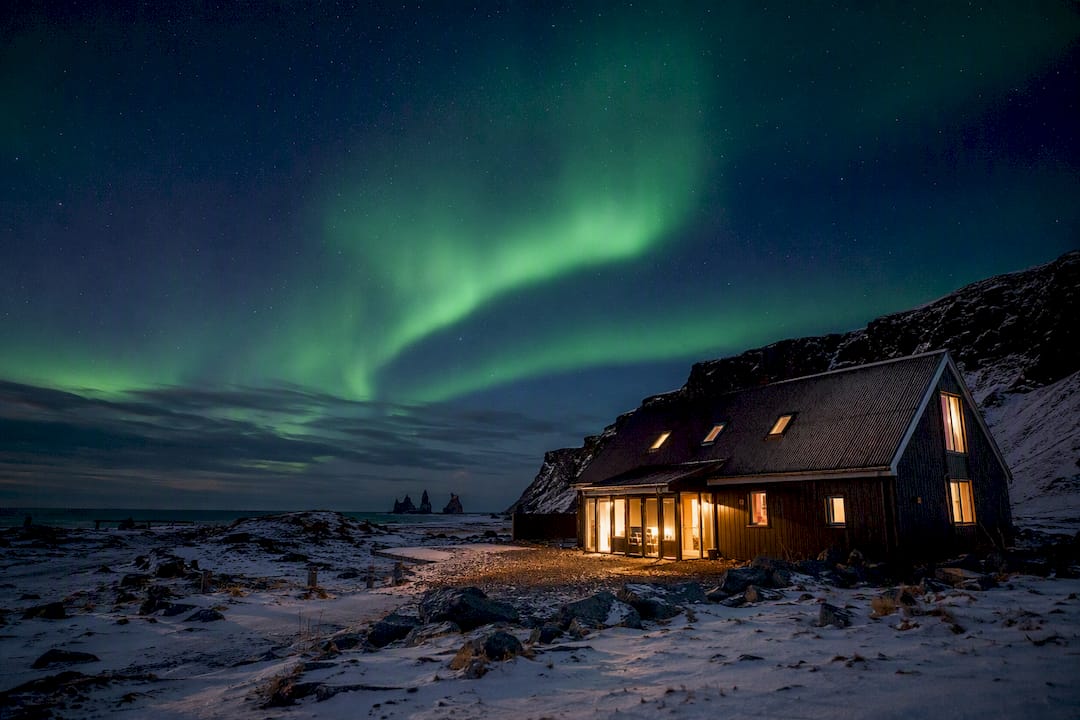
If you’re planning a shoot, our step-by-step guide to photographing the Northern Lights in Iceland pairs these camera settings with specific viewing locations near Vík, and our Northern Lights spot guide covers foreground options if you want more than open sky in your frame. Whether you’re booking a single bed or buying out a room for your whole group, Fox Hostel puts you within reach of dark skies and a warm kitchen to thaw out in afterward.
Why Field Testing Beats Memorized Settings
Every settings chart in this article, including the one above, is a starting point, not a formula to memorize and trust blindly. The conventional advice on aurora photography still leans hard on protecting a low ISO, treating grain like the enemy to avoid at all costs. That’s outdated thinking. Modern sensors and denoising software have shifted the real priority toward freezing motion and getting the exposure right in-camera, even if that means shooting at ISO 3200 instead of 800.
What gets underestimated is how much the histogram matters compared to every other setting combined. Photographers obsess over finding the “correct” ISO or the “correct” shutter speed as if one exists independent of what’s happening in the sky that night. It doesn’t. The aurora changes speed and brightness minute to minute, and the only honest feedback loop is a test shot followed by a histogram check, adjusted, repeated.
If there’s one thing to prioritize before a trip, it’s not gear. It’s practicing manual focus and histogram reading at home, in your backyard, at night, so those movements are automatic when you’re standing in the cold with the sky exploding overhead.
Sources
- How to photograph the Northern Lights — Telescope Advisor
Recommended
- Photographing Northern Lights in Iceland: Step-by-Step | Fox Hostel – South Iceland
- Northern Lights Iceland Webcam Guide for 2026 | Fox Hostel – South Iceland
- Northern and Southern Lights: Science, Colors, and Where to See Them | Fox Hostel – South Iceland
- Northern lights season : comprendre la magie islandaise | Fox Hostel – South Iceland