What Is a Scenic Base? A Guide for Miniature Painters
What Is a Scenic Base? A Guide for Miniature Painters
TL;DR:
- A scenic base is a miniature environment that enhances a figure’s storytelling and realism. Building a base involves layering foundation, filler, texture, sealing, painting, and environmental effects. A simple, focused environment with matching pose and sealed surfaces produces the most compelling displays.
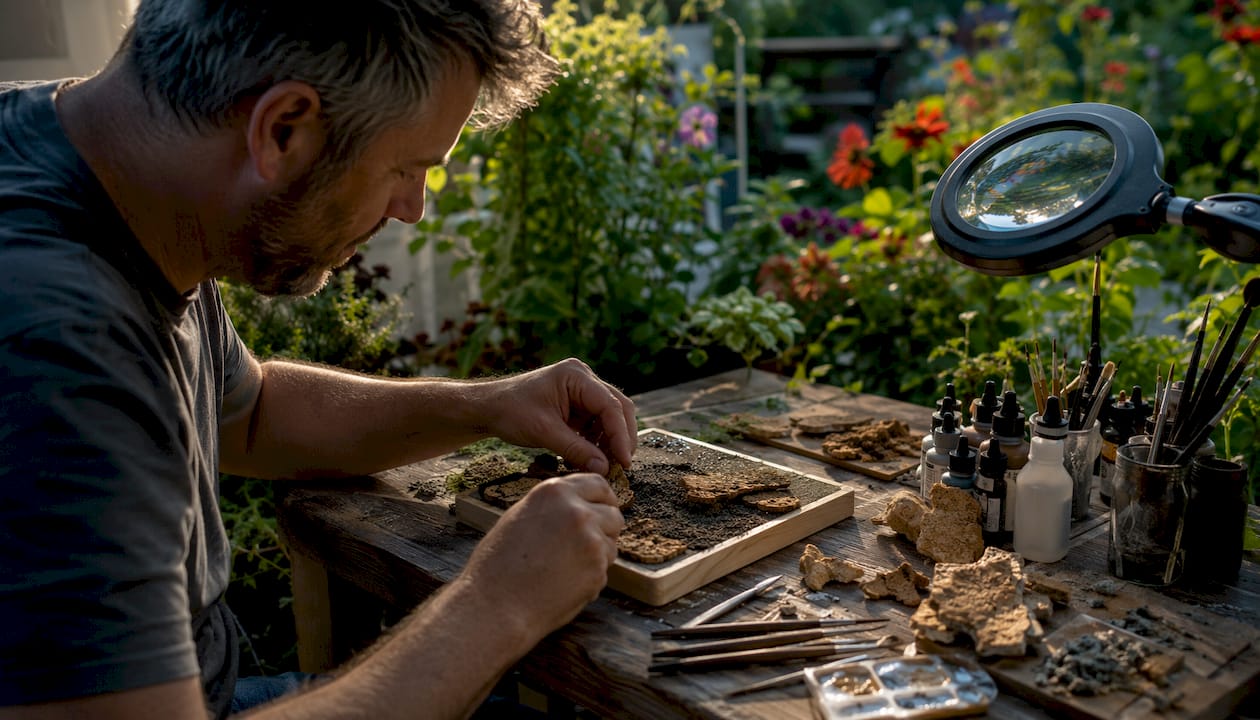
A scenic base is a miniature-sized environment built specifically to display a figure, functioning as a mini-diorama that adds visual context, narrative depth, and realism. It transforms a static model into a piece of visual storytelling. Instead of a plain black disc, your warrior stands on cracked volcanic rock. Your forest ranger crouches over a bed of moss and fallen leaves. The base tells you where the figure lives, what it has seen, and what kind of world it inhabits.
Scenic bases cover a wide range of environmental themes:
- Forest floors with leaf litter, roots, and undergrowth
- Industrial zones with metal grating, pipes, and rubble
- Derelict battlefields with shell craters and barbed wire
- Cobbled city streets with worn stone and gutter debris
- Desert wastes with cracked earth and bleached bones
- Frozen tundra with ice effects and snow scatter
- Swamp terrain with standing water and dead vegetation
The word “scenic” in this hobby context refers specifically to the constructed environment of the base itself, not simply a pretty backdrop. That distinction matters because it shifts your focus from decoration to world-building.
How to build a scenic base from scratch
Building a scenic base follows a clear sequence, even if the materials and themes vary widely. Here is the process most experienced hobbyists use.
1. Build your foundation
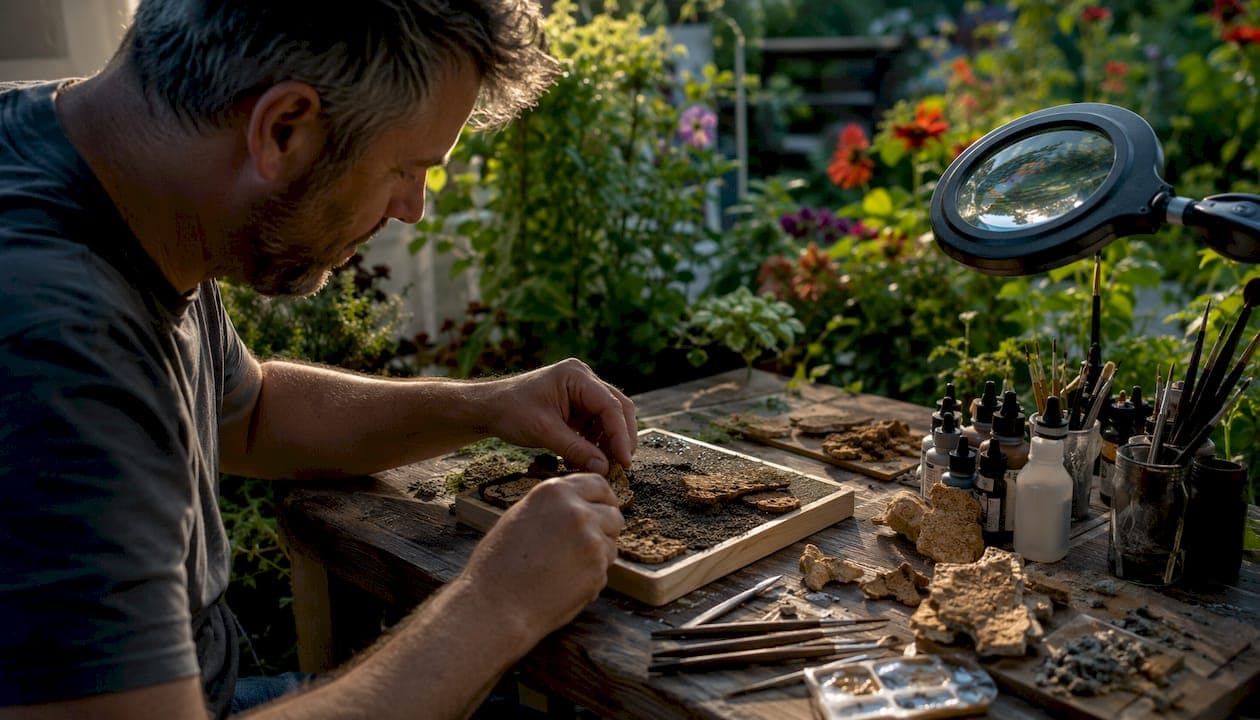
Start with a structural base: a wood block, a thick cork sheet, a piece of plasticard, or salvaged bark. The foundation determines the overall shape and elevation of your terrain. Bark pieces are especially useful because their natural contours suggest rocky outcrops with almost no extra work.
2. Add volume with filler materials
Stack cork board or XPS foam between larger foundation pieces to build up elevated sections. Household waste like rusty metal nuts or cork coasters work well here too, cutting cost while adding bulk before any texture goes on.
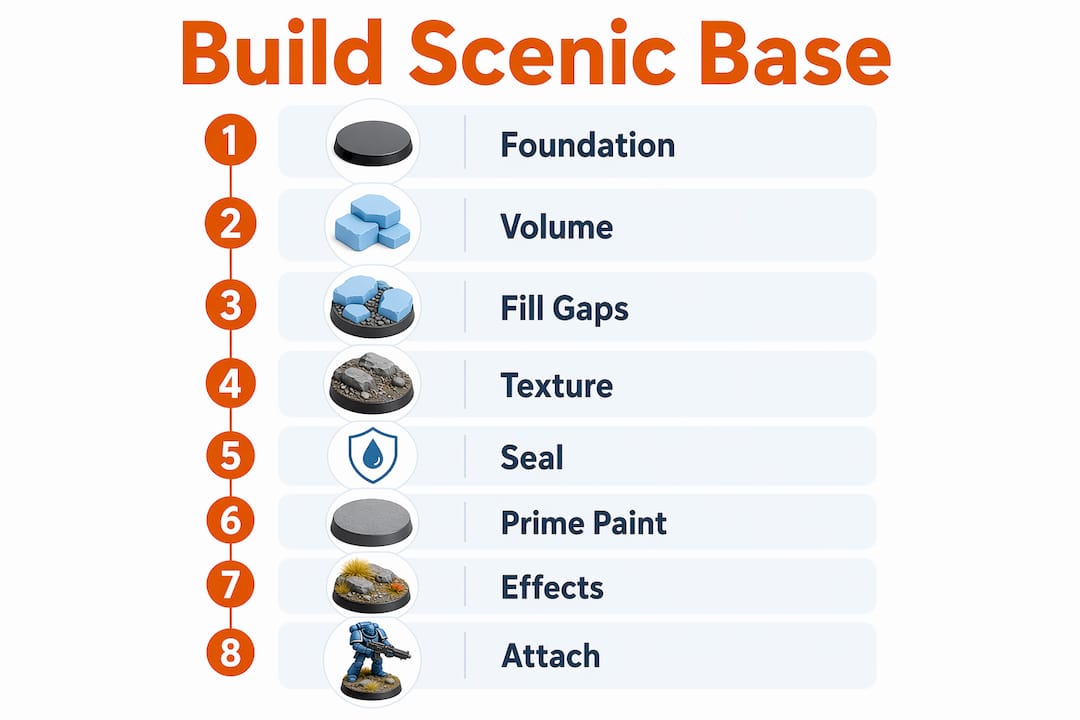
3. Fill gaps with clay or putty
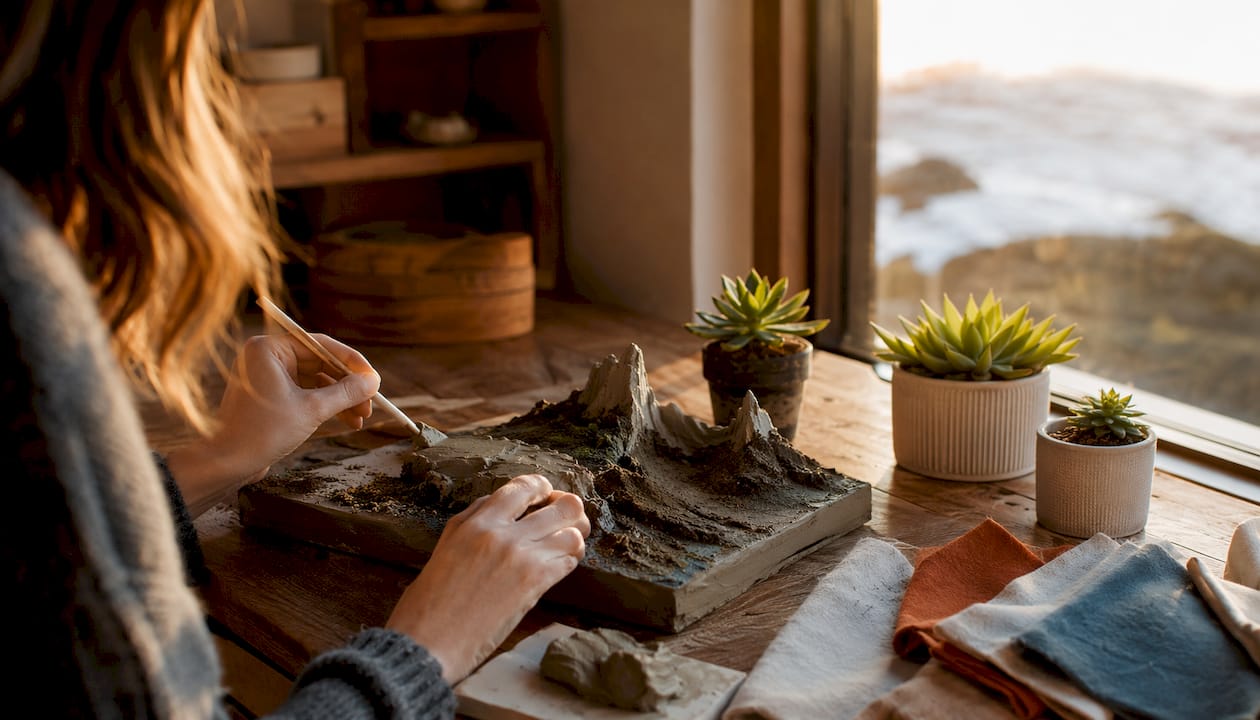
Cover exposed areas and smooth transitions with air-dry clay such as DAS, or with modeling putty like Milliput. Thin layers dry faster and crack less. Use water to smooth out fingerprints and blend edges into natural-looking contours.
4. Apply surface texture
Once the clay dries, coat flat areas with PVA glue and press in sand, fine gravel, or a pre-mixed texture paste. Products like AK Interactive Dark Earth give a convincing soil finish straight from the jar. Vary the grain size across the base to avoid a uniform, artificial look.
5. Seal porous materials
Before adding any water effects or wet paint, seal wood and porous surfaces with a coat of PVA or spray varnish. Skipping this step causes warping and can ruin water effects entirely.
6. Prime and paint
Spray the whole base with a dark primer, then build up color with drybrushing and washes. A drybrush of a mid-tone gray over dark stone reads as natural rock almost immediately. Washes pool in recesses and add depth without much effort.
7. Add environmental effects
Water effects, static grass, clump foliage, and scatter materials go on last. Woodland Scenics clump foliage is a reliable choice for trees and shrubs. For water, two-part epoxy resins or dedicated water effect gels both work well.
8. Attach your miniature
Drill a small hole in the base and pin the figure’s foot with a metal rod and superglue for a permanent bond. Alternatively, magnetize the figure so it can be removed for gaming.
Essential tools and supplies:
- Hobby knife or X-Acto knife for cutting cork and plasticard
- PVA glue for texture application and sealing
- Superglue (Zap-A-Gap or similar) for structural bonding
- Hot glue gun for quickly securing large bark or rock pieces
- Old flat brush for spreading PVA into gaps
- Spray primer in black or dark brown
- Drybrushing brush, wide and stiff
Pro Tip: Do a dry fit with your miniature before gluing anything down. Place the unpainted figure on the unpainted base and check that the feet sit naturally on the terrain. Adjusting elevation at this stage takes seconds; fixing it after everything is glued and painted takes much longer.
Tips that actually improve your scenic bases
The biggest mistake new hobbyists make is overcomplicating the theme. A base crammed with five different terrain types, three color palettes, and a water feature reads as chaotic, not detailed. Pick one environment and commit to it.
- Avoid uniform flatness. No natural terrain is perfectly level. Push clay up into small ridges, press pebbles at slight angles, and vary the depth of your texture across the surface.
- Match the base to the figure’s pose. A miniature mid-stride needs terrain that explains the stride. A crouching figure needs lower ground cover and a reason to crouch.
- Seal before you add effects. Porous cork and bare wood absorb water effects and wet paint unevenly, leaving blotchy results.
- Use household waste for volume. Bottle caps, metal washers, and cork coasters build height cheaply before any texture material goes on.
- Keep your color palette tight. Two or three base colors plus a wash and a drybrush highlight is usually enough. More colors compete with the miniature itself.
- Reference real terrain. A photo of a forest floor, a rocky hillside, or a cracked desert pan gives you proportions and color relationships that imagination alone rarely matches.
Pro Tip: Build the base first, then sculpt or adjust the miniature’s feet to fit the terrain. Sculpting poses after the base is complete prevents the floating-figure problem, where a model looks pasted onto the ground rather than standing on it.
The mood a base sets is not a secondary concern. A warrior on scorched earth reads differently than the same figure on a mossy forest floor. The terrain is part of the character’s story, and hobbyists who treat it that way consistently produce more compelling displays. For a broader sense of how immersive environments shape the way we experience a scene, the principles behind scenic landscape design in travel and tourism map surprisingly well onto miniature basing.
Why scenic bases matter more than most painters realize
“Think of a scenic base as the set for a theatrical performance. Just as an actor performs better in a well-crafted scene, your miniature ‘performs’ better on a base that fits its character and narrative.” — Bomran Ltd, A Beginner’s Guide to Creating Scenic Bases
That framing cuts to the heart of what scenic bases accomplish. The primary purpose is expressive, not decorative. A base establishes mood and setting, and it does that work before the viewer even focuses on the figure itself. Competitive painters have understood this for years: judges at events like Golden Demon and Crystal Brush consistently reward entries where the base and figure feel like a single unified composition rather than two separate projects glued together.
Simplicity is often misunderstood here. A base with carefully chosen materials and a clear environmental theme anchors a miniature more convincingly than a complex base with no coherent story. Three well-painted rocks and a tuft of static grass on a dark soil base can outperform an elaborate multi-material construction if the simpler version fits the figure’s character. The craft community consensus, built across decades of forum discussions and painting tutorials, keeps returning to the same principle: relevance beats complexity every time.
Display cases, photography, and competition entries all benefit from scenic bases for the same reason. The environment gives the viewer’s eye a place to travel before and after it lands on the figure. That visual journey is what separates a miniature on a shelf from a miniature that tells a story.
Speaking of immersive environments: Fox Hostel in South Iceland sits inside Hrífunes Nature Park, a setting that does for travelers what a great scenic base does for a miniature. It places you inside the landscape rather than just near it. Surrounded by lava fields, open skies, and the dark peaks of the South Coast, the hostel gives you the kind of context that changes how you experience everything around it. Book your stay at Fox Hostel and use it as your base for Reynisfjara Black Sand Beach, Jökulsárlón Glacier Lagoon, and the Highlands.

Key Takeaways
A scenic base is a constructed miniature environment that establishes mood, narrative, and realism, making it the single most effective way to elevate a figure’s display.
| Point | Details |
|---|---|
| Definition | A scenic base is a mini-diorama built to add visual context and narrative depth to a miniature figure. |
| Build sequence | Foundation, volume filler, clay or putty, texture, sealing, primer, paint, then environmental effects. |
| Seal before effects | Porous wood and cork must be sealed with PVA or varnish before water effects or wet paint are applied. |
| Pose integration | Build the base first, then adjust the miniature’s feet to match the terrain for natural ground contact. |
| Simplicity wins | A clear, single-theme environment with a tight color palette consistently outperforms a cluttered, complex base. |
Recommended
- Cos’è una basecamp in Islanda: guida completa | Fox Hostel – South Iceland
- How to Discover Scenic Spots Near Vík, Iceland | Fox Hostel – South Iceland
- Photographing Northern Lights in Iceland: Step-by-Step | Fox Hostel – South Iceland
- Qué es una basecamp en Islandia: guía práctica | Fox Hostel – South Iceland