Photographing Northern Lights in Iceland: Step-by-Step
Photographing Northern Lights in Iceland: Step-by-Step
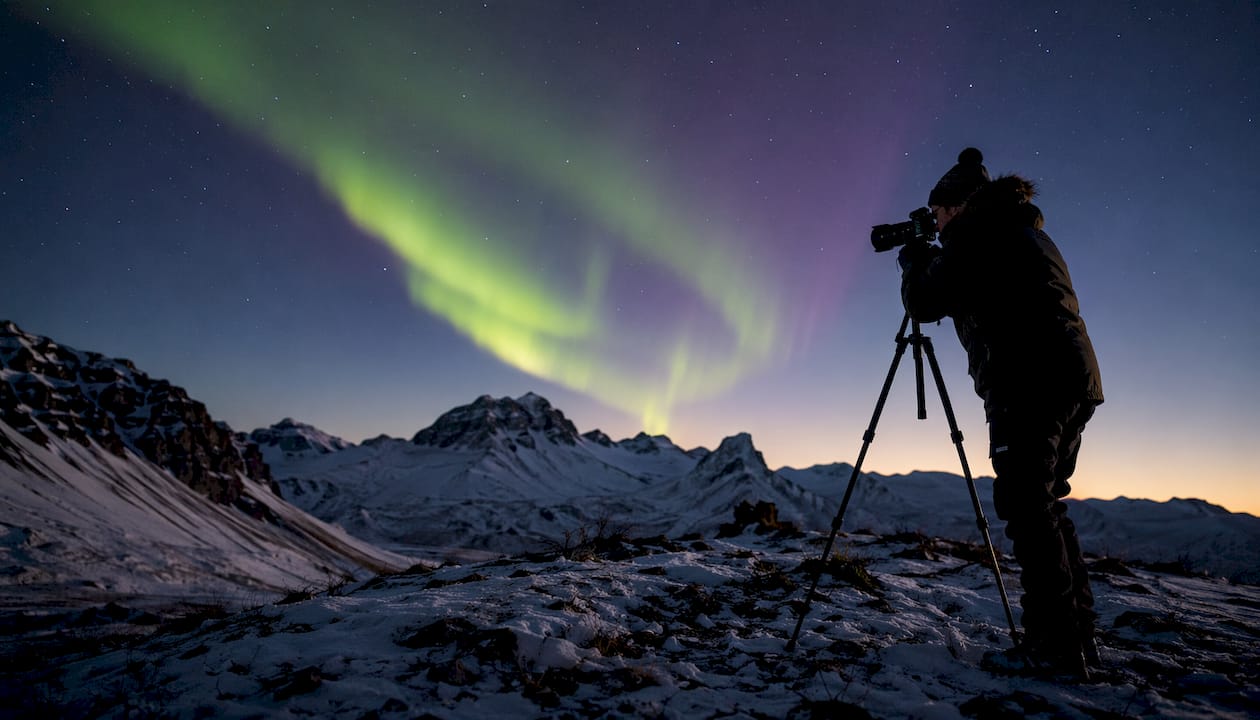
TL;DR:
- Capturing the Northern Lights in Iceland requires manual camera controls, dark skies, and proper location selection. Preparation includes choosing the right gear, scouting locations in daylight, and adjusting camera settings for long exposures and low light. Patience and proper planning ensure stunning aurora photographs rather than blurry or overexposed images.
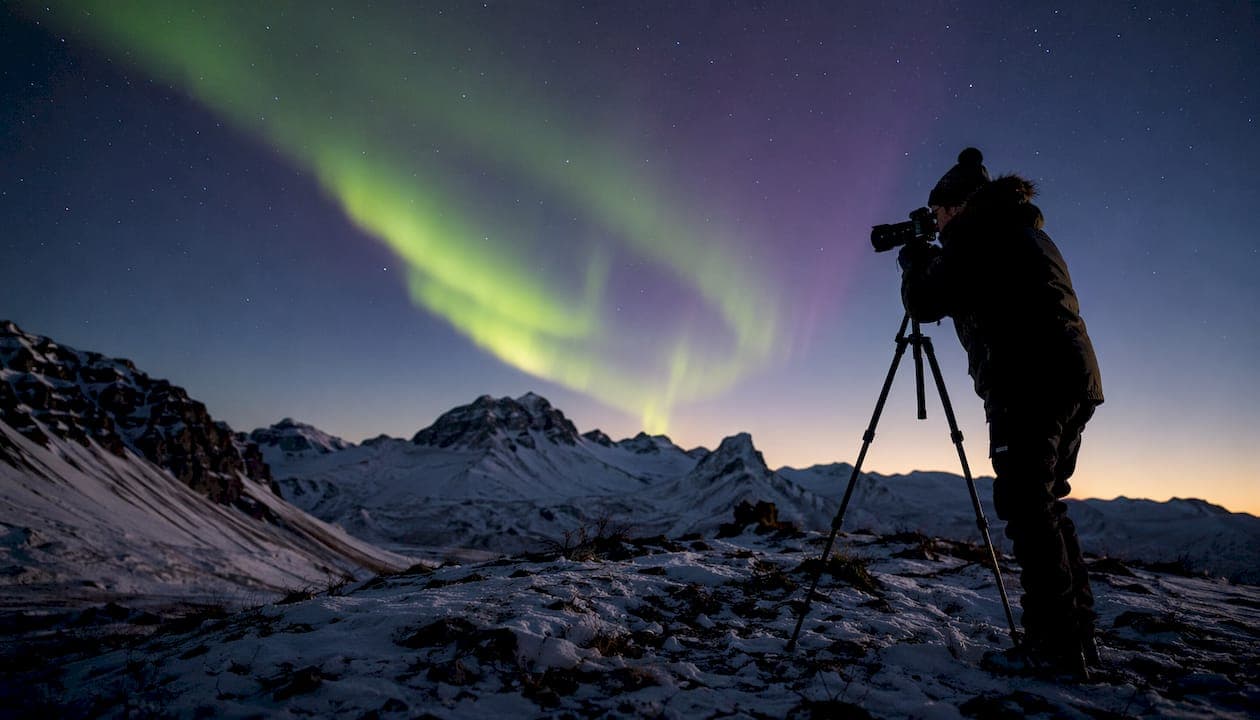
Photographing the Northern Lights in Iceland is defined as capturing aurora borealis displays using manual camera controls, low-light techniques, and strategic location selection. The process requires darkness, clear skies, and a camera capable of long exposures. The aurora season runs from late august through april, with peak visibility from october to february, when nights are longest. Following the right photographing northern lights Iceland steps makes the difference between a blurry green smear and a frame-worthy shot. This guide covers every stage: gear selection, camera settings, location scouting, and the full shooting workflow.
What equipment and settings do you need to photograph the Northern Lights in Iceland?
The right gear is the foundation of every successful aurora shoot. A DSLR or mirrorless camera with full manual mode control is the minimum requirement. Compact cameras with only automatic modes cannot hold the long exposures aurora photography demands.
Essential gear checklist
- Camera: DSLR or mirrorless with manual mode (full-frame sensors perform best at high ISO)
- Lens: Wide-angle with a maximum aperture of f/2.8 or wider (f/1.8 or f/1.4 is even better)
- Tripod: Heavy-duty and stable. Light tripods cause blur in Iceland’s wind
- Remote shutter release or self-timer: Prevents camera shake when pressing the shutter
- Spare batteries: Cold drains batteries fast. Carry at least two extras kept warm inside a jacket pocket
- Memory cards: Bring more than you think you need. RAW files are large
Starting camera settings
- Set the camera to manual mode (M)
- Open aperture to f/2.8 or wider
- Set ISO to 1600 as a starting point (adjust up to 3200 or 6400 for dim auroras)
- Set shutter speed to 5–10 seconds for a moderately active aurora
- Switch white balance to a fixed 3500–4000K rather than Auto
Auto white balance shifts unpredictably between frames, which creates inconsistent colors and makes timelapse editing a nightmare. A fixed Kelvin value locks your color tone across every shot.
Shoot in RAW format, not JPEG. RAW files preserve far more tonal data, giving you real flexibility when adjusting exposure and color in post-processing software like Adobe Lightroom or Capture One.
Pro Tip: Use live view to zoom in on a bright star, then turn the focus ring until the star becomes the sharpest, smallest point of light. Mark that position on the focus ring with a small piece of tape so it does not shift during the shoot.
Smartphone aurora photography
Modern smartphones with night mode can capture Northern Lights when mounted on a tripod and set to the longest available exposure (up to 30 seconds). Devices like the iPhone 15 Pro, Samsung Galaxy S24 Ultra, and Google Pixel 8 Pro all support this. Handheld smartphone shots will always blur. A small, lightweight travel tripod costs under $30 and makes the difference between a usable image and nothing.
How do you choose and prepare your location for Northern Lights photography?
Location is the second most important variable after camera settings. The further you are from city lights, the more vivid the aurora appears against a truly dark sky.
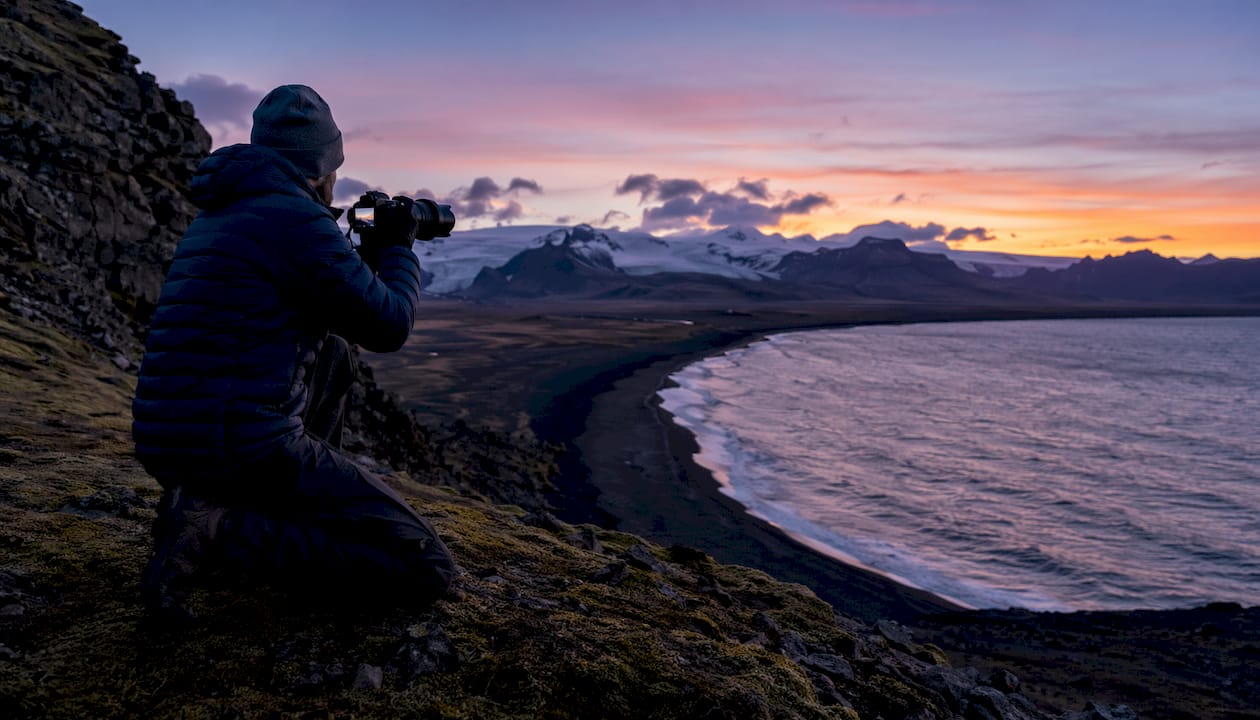
South Iceland offers some of the best locations for Northern Lights photography in the country. Areas around Vík, Hrífunes Nature Park, Jökulsárlón Glacier Lagoon, and the Vatnajökull region all combine low light pollution with dramatic natural foregrounds. Reykjavík and its surrounding suburbs produce enough light pollution to wash out all but the strongest auroras.
What makes a great foreground?
A dark sky alone produces a flat image. The best aurora photos include a compelling foreground that gives the scene scale and story. Strong options include:
- Glacial lagoons like Jökulsárlón, where ice reflects the aurora colors
- Mountain ridges that frame the sky
- Waterfalls or rivers for movement and texture
- Isolated structures like old barns or lighthouses
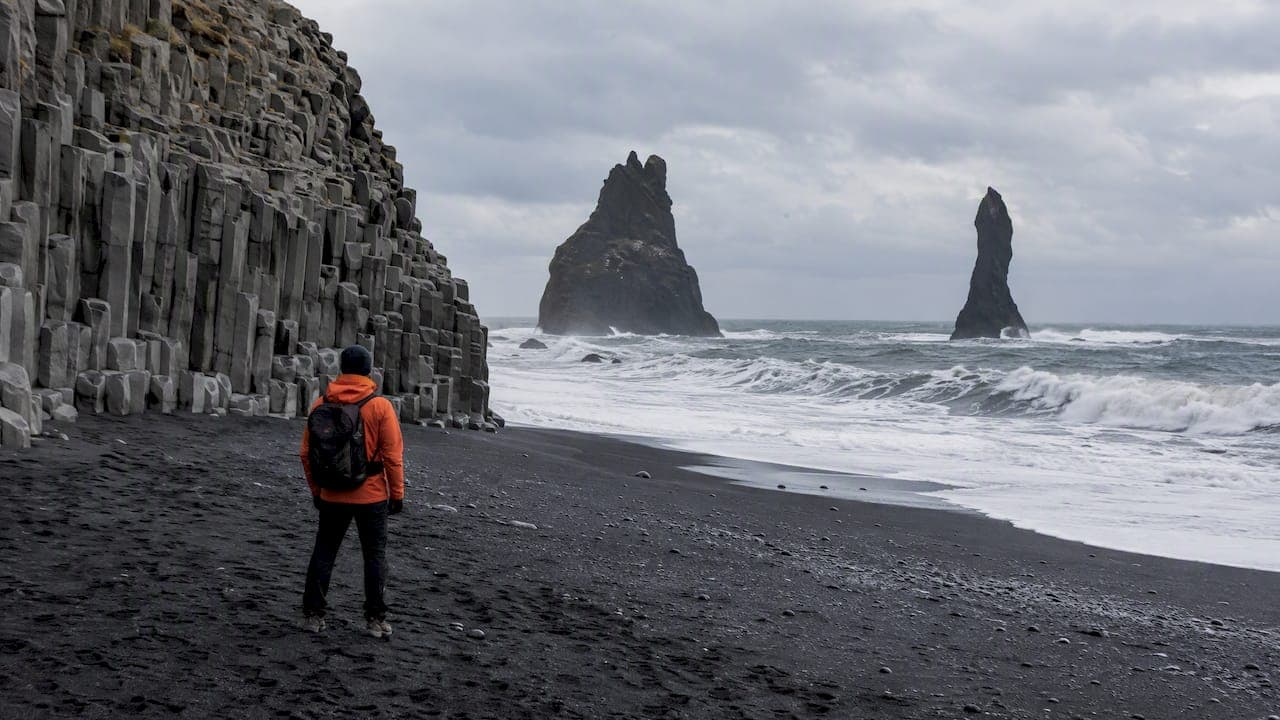
- Black sand beaches like Reynisfjara, where waves and sea stacks anchor the composition
Pro Tip: Scout your location during daylight. Walking an unfamiliar site in pitch darkness is both dangerous and inefficient. Identify where you will place your tripod, check for uneven ground, and pre-visualize your composition before the aurora appears.
Checking forecasts the right way
Cloud cover is the dominant visibility factor, not the KP index. The KP index measures geomagnetic activity, but a KP of 5 means nothing if the sky is overcast. Check the Icelandic Meteorological Office cloud cover map at vedur.is alongside any aurora forecast. If clouds are forecast, drive to a clearer region rather than waiting in one spot.
Respecting nature and local regulations matters too. Stay on marked paths, avoid driving off-road, and never walk onto glaciers without a guide.
What is the step-by-step process for photographing the Northern Lights?
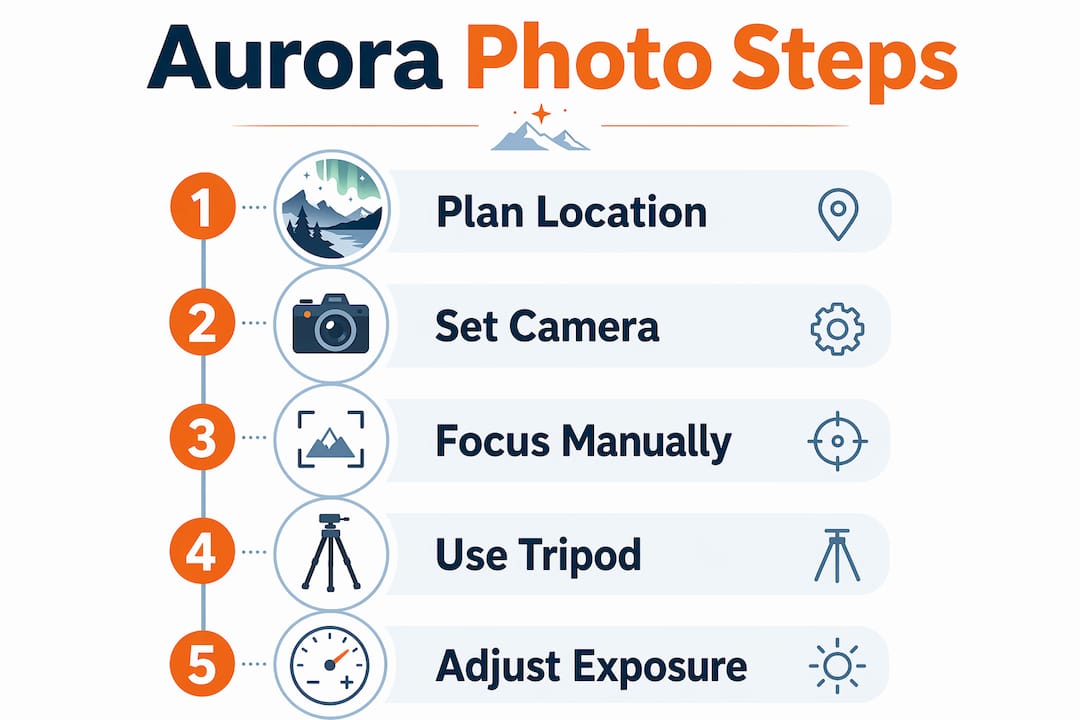
This is the core workflow for capturing auroras in Iceland, from arriving at your location through making final exposure adjustments.
The shooting workflow
- Arrive before dark. Experienced aurora photographers arrive before sunset to set up and compose in daylight. This prevents fumbling with gear in the dark.
- Set up your tripod. Choose firm, level ground. Remove or secure your camera strap so it does not act as a sail in the wind and introduce micro-vibrations during long exposures.
- Set your starting exposure. Apply the settings from the gear section: f/2.8, ISO 1600, 5–10 seconds.
- Manually focus on a star. Use live view, zoom to 10x magnification, and turn the focus ring until the star is a sharp pinpoint. Autofocus fails in dark conditions and will hunt endlessly without locking.
- Compose your frame. Include a foreground element in the lower third. Check that the horizon is level.
- Take a test shot. Use a remote shutter release or the camera’s 2-second self-timer to avoid pressing the shutter by hand.
- Read the histogram, not the LCD. The rear LCD overbrightens images in dark environments, making underexposed shots look acceptable. The histogram is the reliable guide. Aim for aurora highlights at roughly 75–80% from the left without clipping the right edge.
- Adjust for aurora speed and brightness. Fast auroras need a shutter speed of 1–4 seconds to freeze the motion. Slow, diffuse glows can use 15–25 seconds with ISO up to 6400. Adjust one variable at a time.
- Keep shooting. Aurora activity fluctuates. A quiet sky can erupt into curtains of light within minutes. Stay patient and keep the camera ready.
Exposure reference table
| Aurora activity | Shutter speed | ISO | Aperture |
|---|---|---|---|
| Fast, bright bursts | 1–4 seconds | 800–1600 | f/2.8 or wider |
| Moderate activity | 5–10 seconds | 1600–3200 | f/2.8 |
| Slow, faint glow | 15–25 seconds | 3200–6400 | f/2.8 or wider |
Pro Tip: After each adjustment, wait for the full exposure to complete before evaluating the result. Checking a half-finished frame wastes time and gives you no useful information.
What common mistakes should you avoid when capturing the Northern Lights?
Most failed aurora shots come from a short list of repeatable errors. Knowing them in advance saves you from learning the hard way in the field.
- Trusting the KP index alone. A high KP number with full cloud cover produces zero photos. Always cross-check with vedur.is cloud maps.
- Using autofocus at night. The camera will hunt and miss. Switch to manual focus before the aurora appears.
- Ignoring light pollution. Even a small town on the horizon can degrade image quality. Drive further from settlements.
- Shutter speed too long. A 25-second exposure during a fast aurora produces a smeared, unrecognizable streak. Match shutter speed to aurora speed.
- Judging exposure by the LCD. The screen lies in the dark. Use the histogram every time.
- Pressing the shutter by hand. Even the lightest touch transmits vibration. Use a remote or the self-timer.
- Skipping daytime scouting. Adjusting a tripod on uneven, pitch-black ground while an aurora is active is a recipe for missed shots and potential injury.
- Letting batteries die in the cold. Cold causes early battery drain, and a partially drained battery may partially recover when warmed. Keep spares inside your jacket and rotate them.
The single most common reason photographers miss the Northern Lights in Iceland is not bad luck or weak aurora activity. It is arriving at a cloudy location because they checked the KP index instead of the cloud cover forecast.
Pro Tip: Practice switching your camera to manual mode, adjusting ISO, aperture, and shutter speed, and manually focusing in a dark room at home before your trip. Muscle memory matters when you are standing in a freezing Icelandic field at 1:00 AM.
Key takeaways
Successful aurora photography in Iceland requires the right camera settings, a dark-sky location, daytime scouting, and the discipline to read the histogram rather than the LCD preview.
| Point | Details |
|---|---|
| Start with proven settings | Use f/2.8, ISO 1600, and 5–10 seconds as your baseline, then adjust for aurora speed. |
| Fix your white balance | Set white balance to 3500–4000K to avoid color shifts between frames. |
| Scout in daylight | Visit your location before dark to compose safely and avoid hazards. |
| Check cloud cover first | Vedur.is cloud maps matter more than the KP index for predicting visibility. |
| Use histogram for exposure | The rear LCD overbrightens in darkness. The histogram is the only reliable exposure guide. |
What I have learned from shooting auroras in Iceland
The first time I stood in a field in South Iceland waiting for the aurora, I made every mistake in this article. I checked the KP index obsessively, ignored the cloud forecast, and arrived at my location after dark with no idea where to put my tripod. I got nothing that night except cold hands and blurry test shots.
The shift that changed everything was treating each aurora shoot like a planned expedition rather than a spontaneous event. Arriving an hour before dark, walking the site, and pre-focusing on a distant light source before the sky went fully black turned my hit rate around completely. You cannot rush the preparation phase.
The other thing nobody tells you is how fast the aurora moves during a strong display. A 10-second shutter speed that works perfectly for a faint glow will smear a fast-moving curtain into an unrecognizable blur. Aurora intensity and speed dictate exposure adjustments, and you need to be ready to drop your shutter speed to 2 or 3 seconds the moment activity picks up. Keep your hand near the controls.
One last thing: put the camera down for a few minutes during a strong display. The best aurora I ever saw lasted about 12 minutes. I spent 10 of them staring at a histogram. The experience itself is worth more than any image.
— Siggi
Fox Hostel: your base for aurora photography in South Iceland
South Iceland’s dark skies are among the most accessible in the country for aurora hunters, and your base matters as much as your camera settings.

Fox Hostel sits in Hrífunes Nature Park, 35 minutes east of Vík, surrounded by the kind of darkness that makes aurora photography genuinely rewarding. The hostel’s location puts you within easy reach of Reynisfjara Black Sand Beach, Jökulsárlón Glacier Lagoon, and the Vatnajökull region, all prime spots for capturing the Northern Lights with dramatic foregrounds. Solo travelers can book a single bed, while couples and groups can take a full room for privacy. The on-site pizzeria and communal kitchen mean you can fuel up before a late-night shoot without leaving the property. Book early for the peak aurora season from october through february.
FAQ
When is the best time to photograph the Northern Lights in Iceland?
The aurora season in Iceland runs from late august through april, with october to february offering the longest nights and best visibility. Summer months are unsuitable because of the midnight sun.
What camera settings should I start with for aurora photography?
Start with manual mode, aperture at f/2.8 or wider, ISO 1600, and a shutter speed of 5–10 seconds. Adjust shutter speed shorter for fast auroras and longer for faint, slow glows.
How do I focus my camera in the dark for Northern Lights shots?
Switch to manual focus and use live view to zoom in on a bright star. Turn the focus ring until the star is a sharp pinpoint, then tape the ring to prevent it from shifting.
Is the KP index reliable for planning a Northern Lights photography trip?
The KP index measures geomagnetic activity but tells you nothing about cloud cover. Check vedur.is for cloud maps alongside any aurora forecast, since overcast skies cancel out even a high KP reading.
Can I photograph the Northern Lights with a smartphone?
Yes, if your phone supports night mode with manual exposure control and you mount it on a tripod. Devices like the iPhone 15 Pro, Samsung Galaxy S24 Ultra, and Google Pixel 8 Pro can capture auroras. Handheld shots will always blur during long exposures. For tips on seeing the Northern Lights in Scotland with a smartphone, the same tripod rule applies.